

Northern lights photography - A tutorial
The aurora season is here, and since the sun is in a very active period, the chances are unusually high for the northern lights to be visible even at lower latitudes. Here I share my tips on photographing the northern lights.
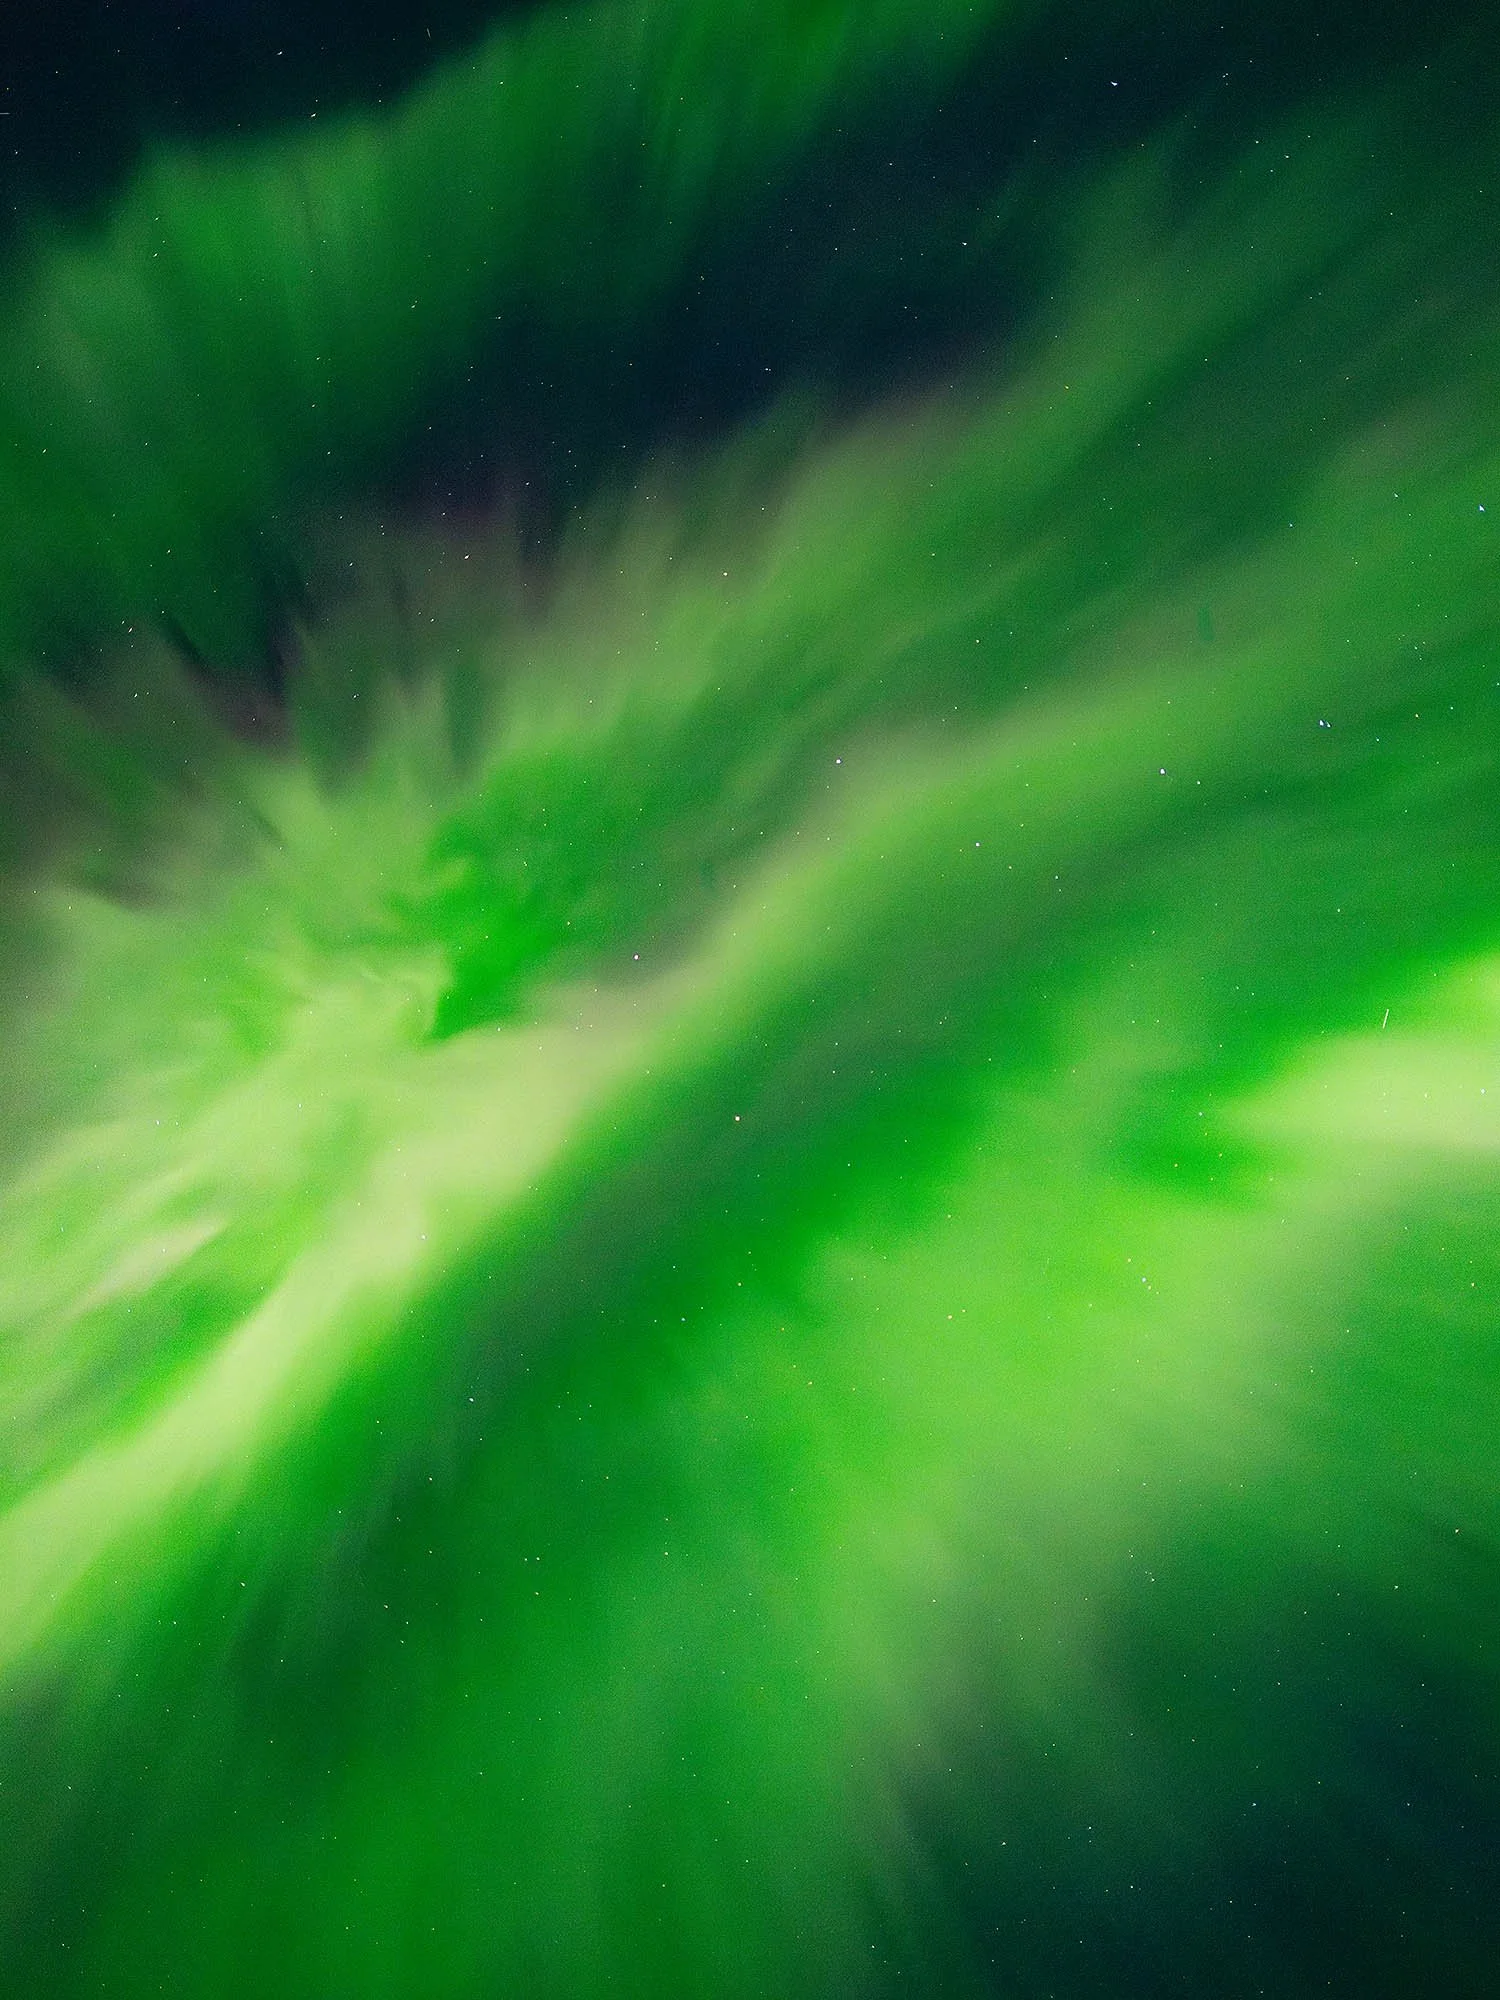
Fujifilm GFX 50r, GF 45mm, f/2.8, 1.0 sec, ISO 3200
1. Equipment
To photograph the northern lights with good results, you need a camera that allows manual control of exposure. You also need a wide-angle or zoom lens that is reasonably fast. For a full-frame camera, a 15-30mm f/2.8 or a 24-70mm f/2.8, for example, works great. For an APS-C camera, lenses equivalent to 16-50mm f/2.8 or similar work well. You will also need a tripod. Having basic knowledge of manual photography is also good.
2. Northern Lights Forecast
Nowadays, there are many apps, websites, etc., that provide forecasts on when the northern lights might occur. I personally follow Spaceweather.com. For Swedish aurora hunters, I recommend following “Norrsken Sverige” on Facebook.
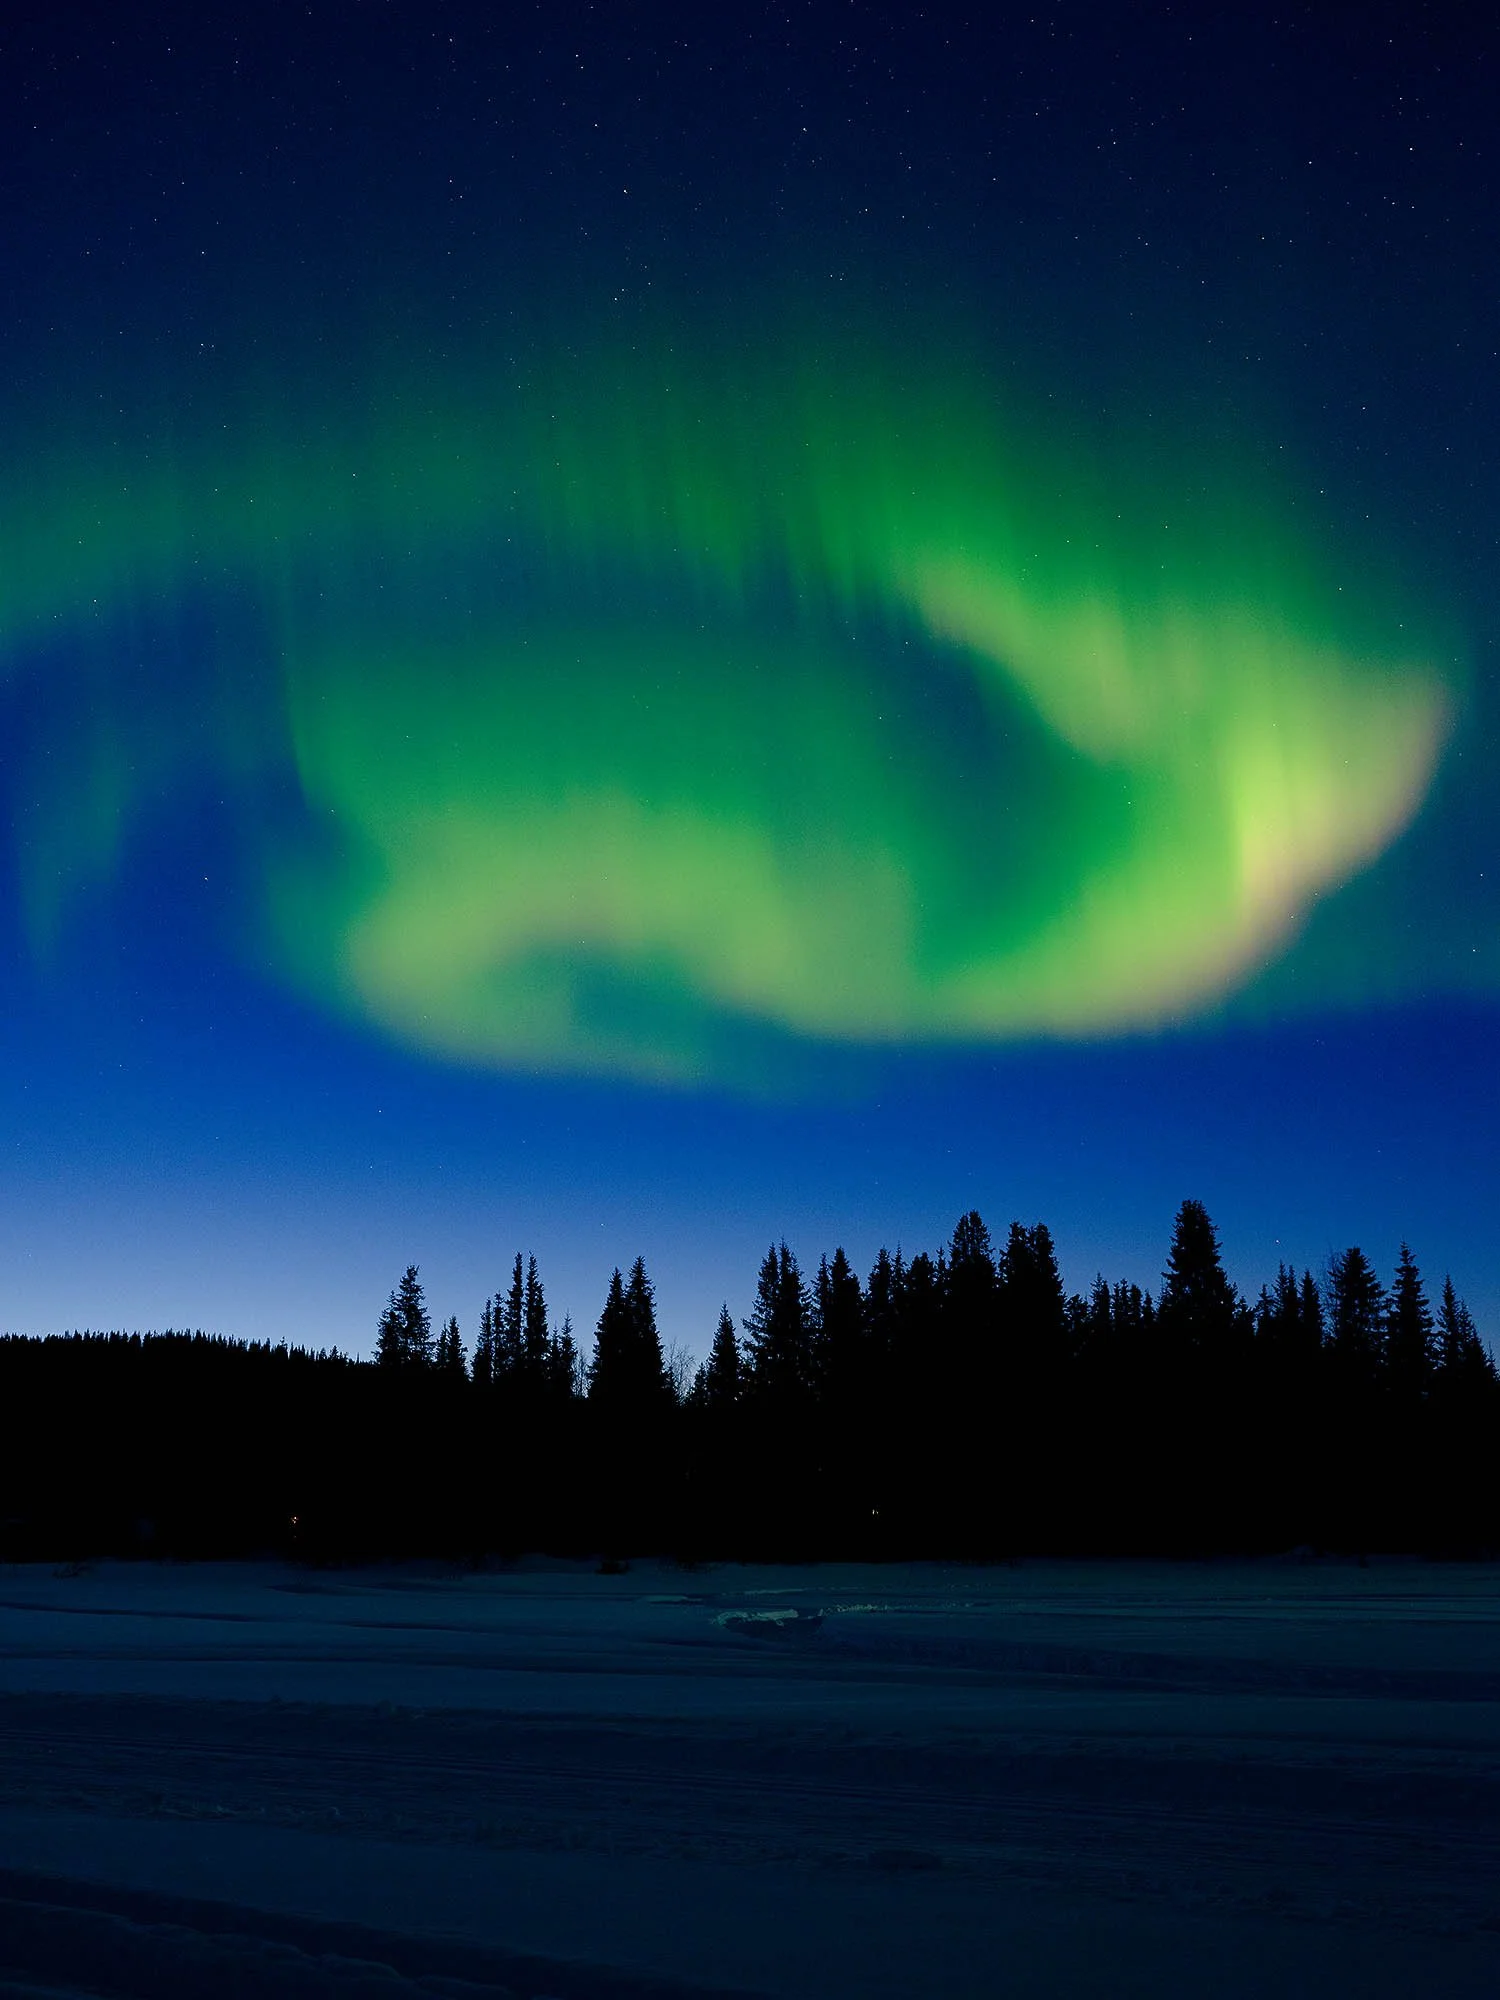
Fujifilm GFX 50r, GF 45mm, f/4.0, 2.5 sec, ISO 2000
3. Timing and Location
The processes that give rise to the northern lights can occur around the clock and year-round, but for the aurora to be visible, a clear and dark sky is required. Being able to see some stars is a good rule of thumb for when the northern lights might also be visible. For the best results, you need to find a dark location, as free from light pollution as possible. At lower latitudes, it's also important to have an unobstructed view to the north. It is entirely possible to photograph the northern lights even in cities, but light pollution can make the aurora invisible to the naked eye unless it's very strong.

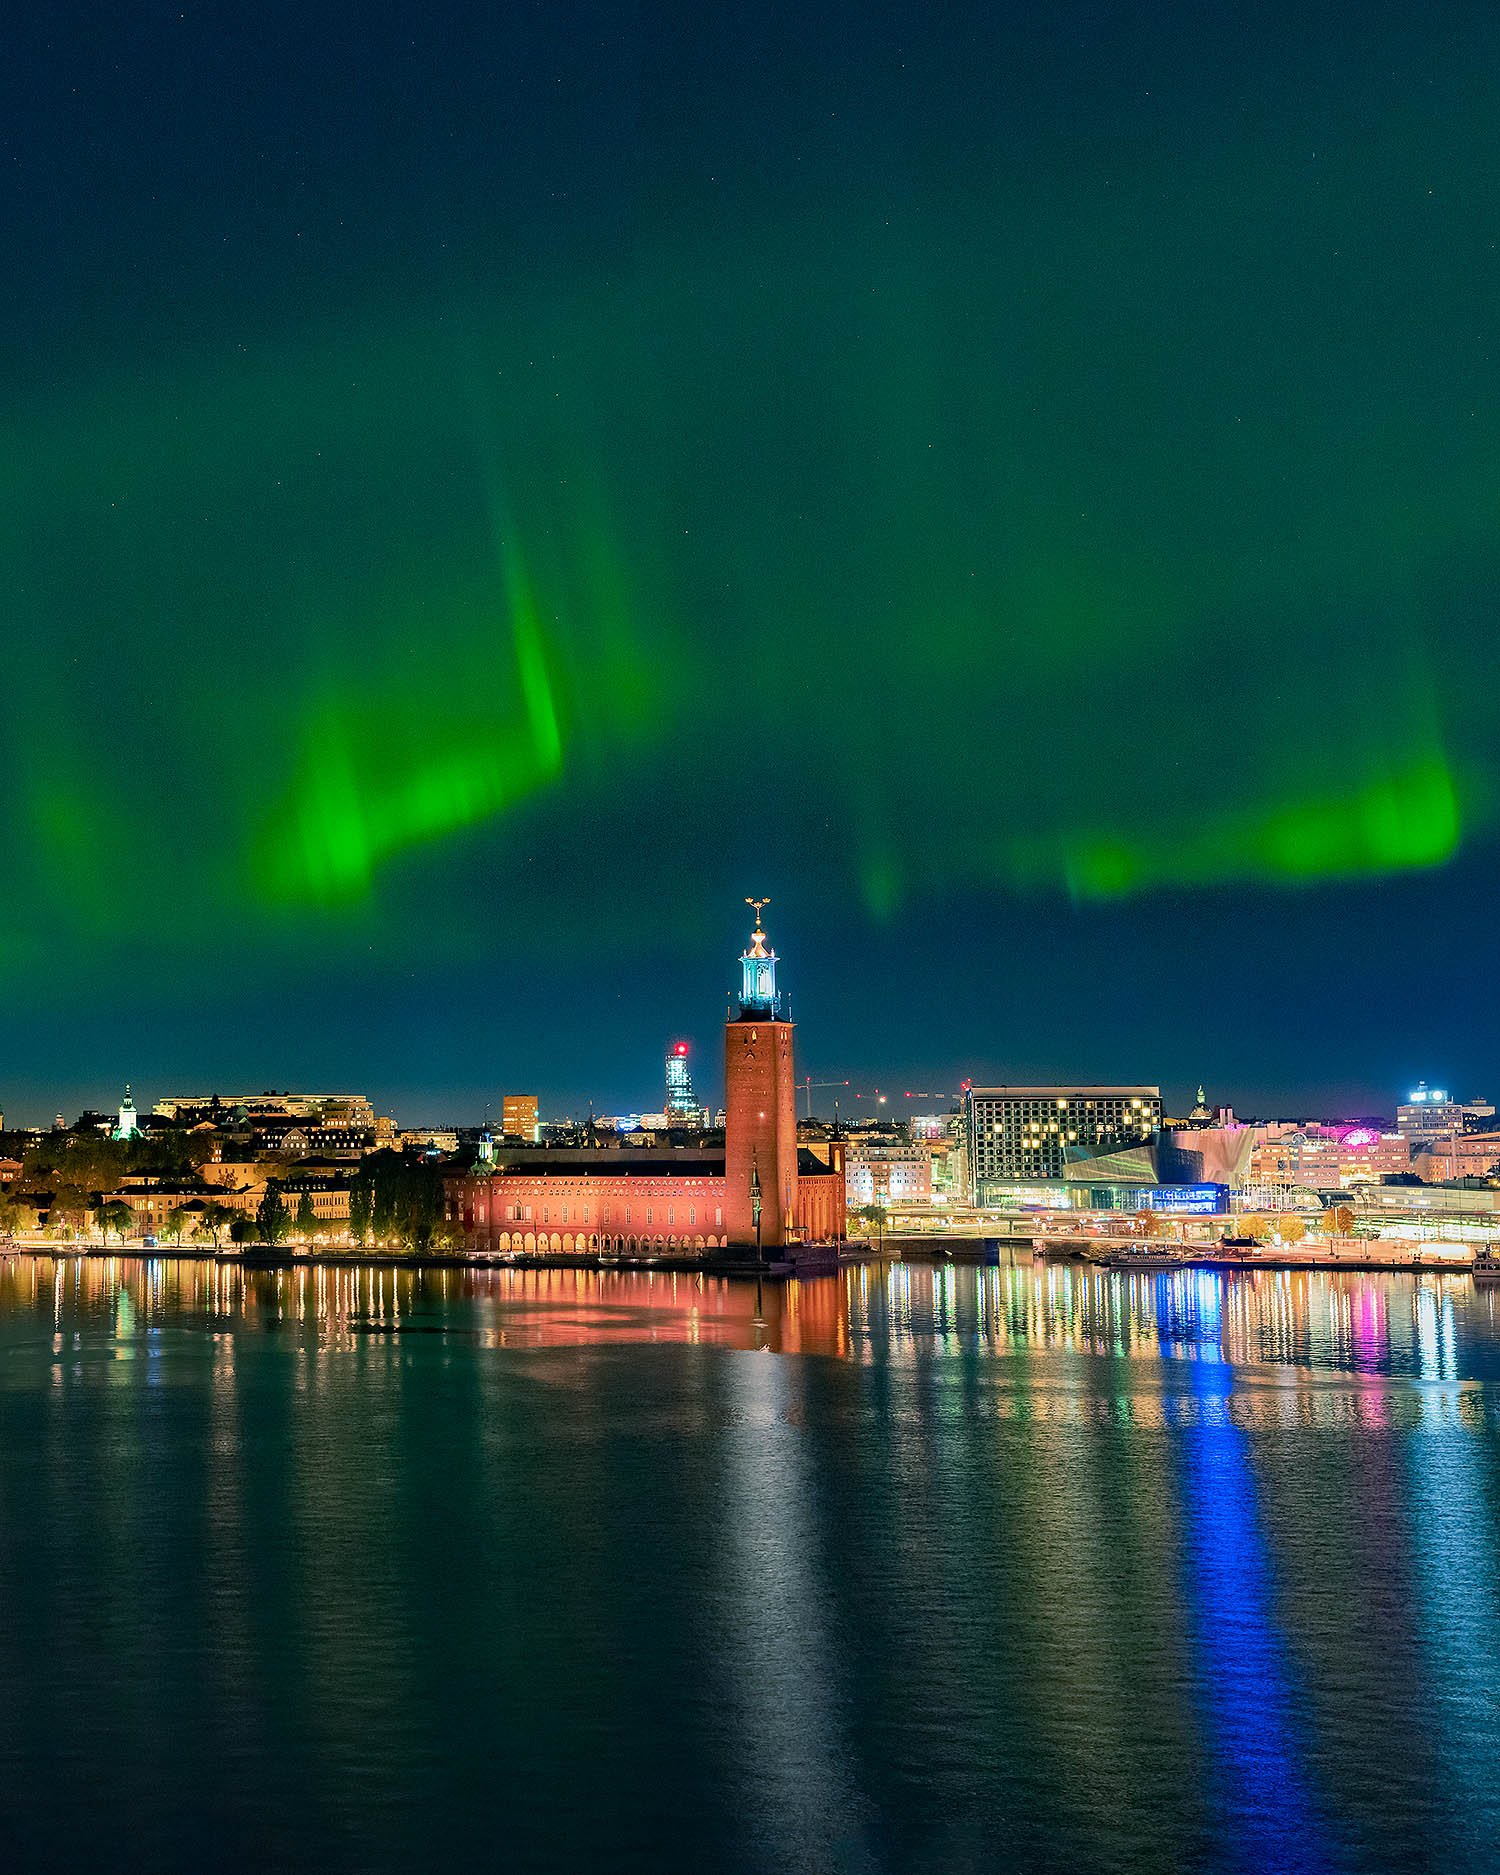
Fujifilm GFX 50r, GF 45mm, f/2.8, 3.0 sec, ISO 1600
4. Focus
Focusing in the dark is not entirely easy. One way to do it is to use the camera's live view and, in high magnification, focus on a star or an artificial light at a great distance. Even if the lens has an infinity mark on the focus scale, it's not entirely certain that it corresponds to infinity focus. Feel free to double-check the focus by taking a few test shots.
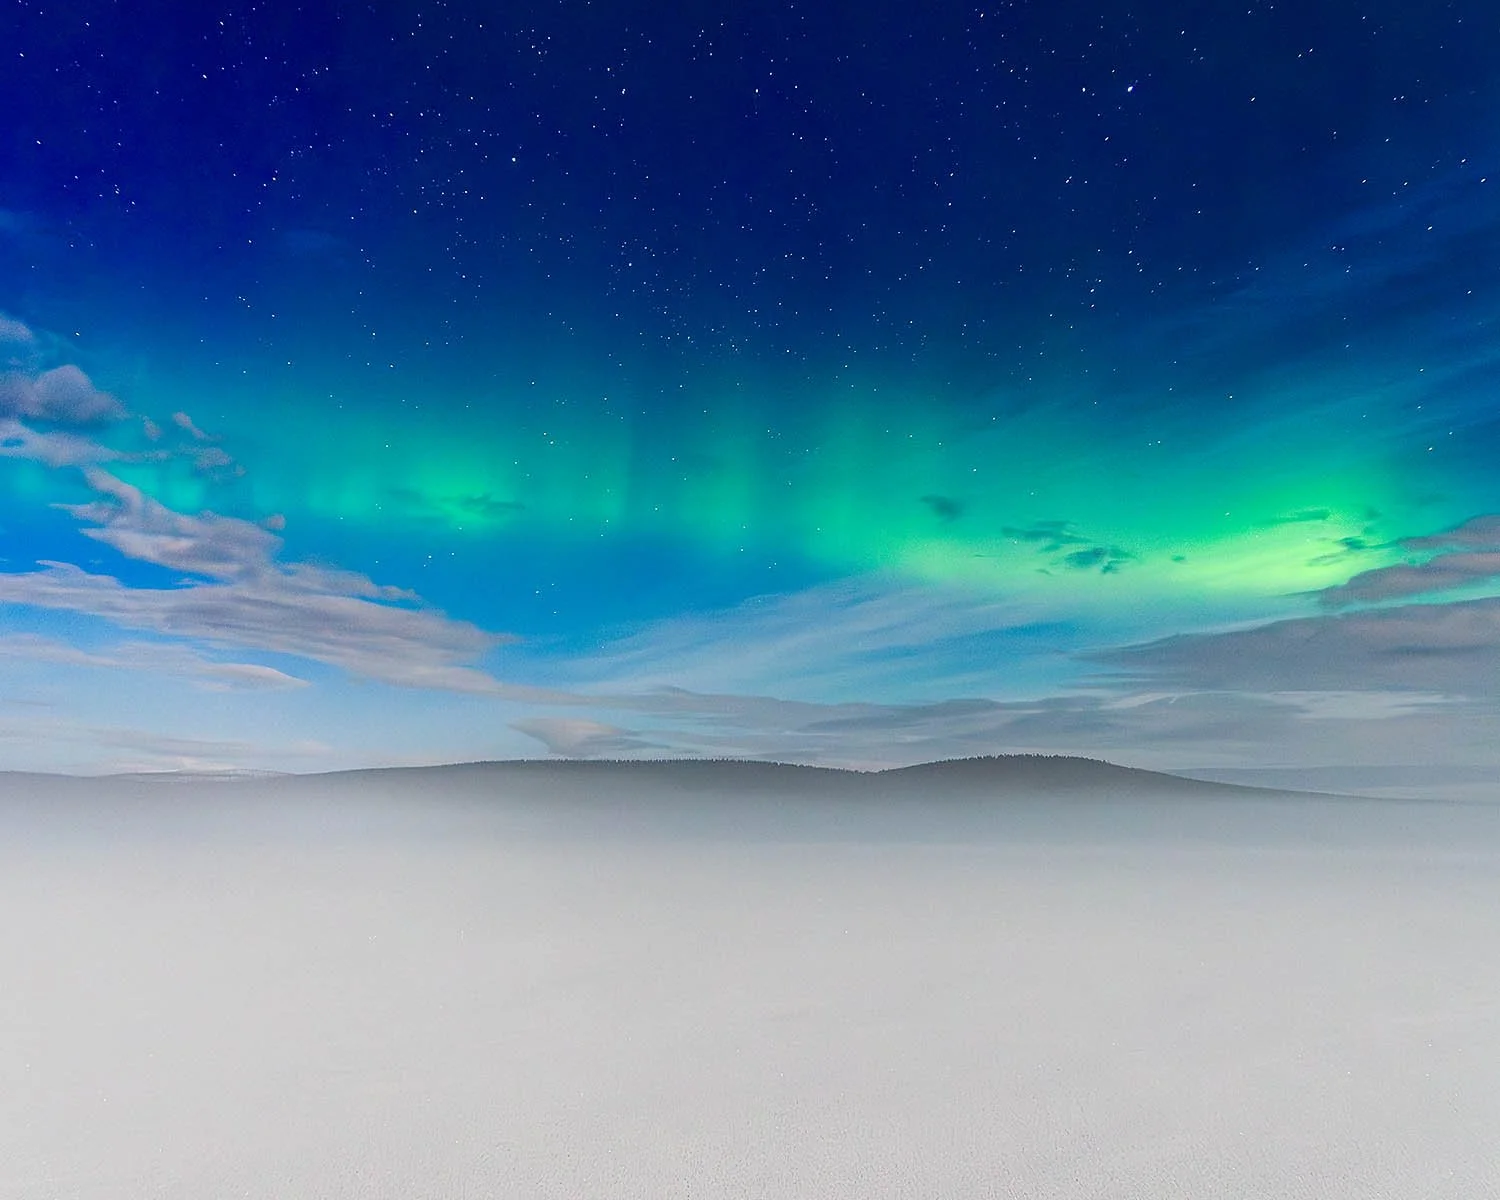
Pentax K-1, Pentax DFA 50mm, f/4.0, 0,6 sec, ISO 3200.
5. Exposure
When exposing for the northern lights, I usually leave the lens wide open, meaning at an aperture of f/2.8. If you want to achieve better sharpness, it might be a good idea to stop down one or two stops, for example, from f/1.4 to f/2. I usually keep the shutter speed somewhere around 2-10 seconds. Since the northern lights move, too long a shutter speed will result in images of a green haze without the structures of the aurora being visible. With an aperture of, say, f/2.8 and a shutter speed of perhaps 5 seconds, you have one factor left to work with in terms of achieving the right exposure, and that is the camera's sensitivity, or ISO value. Which ISO value to use depends greatly on the surrounding light. Are you in a dark place or near a city, is there snow, is the moon shining? One way might be to start at, for example, ISO 1600 and adjust up or down according to what gives a good result but also by testing different shutter speeds. Since high ISO values produce more noise, it's important to find a balance between shutter speed and sensitivity.
Pentax K-5II, Pentax DA 16-50, 16mm, f/4.0, 13 sec, ISO 1600
6. Image Processing
For the best results, you should shoot in RAW format and develop the images on a computer. If there's interest, I can also share my workflow in Lightroom.